|
Magnetik's
DIY "Washing Machine"
Adire Tempest 15" Subwoofer Project to be perfectly honest.. it's much bigger than a washing machine. ;)
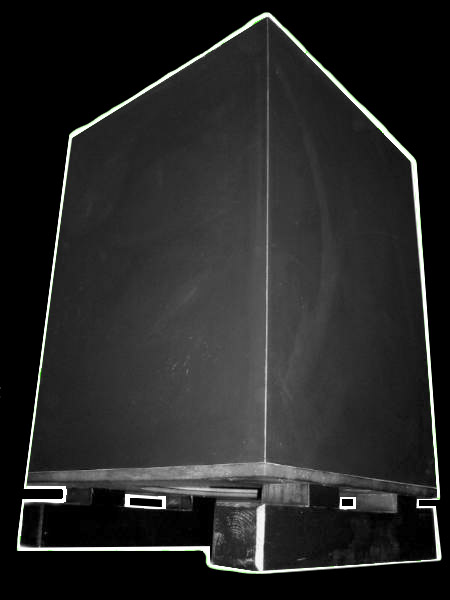
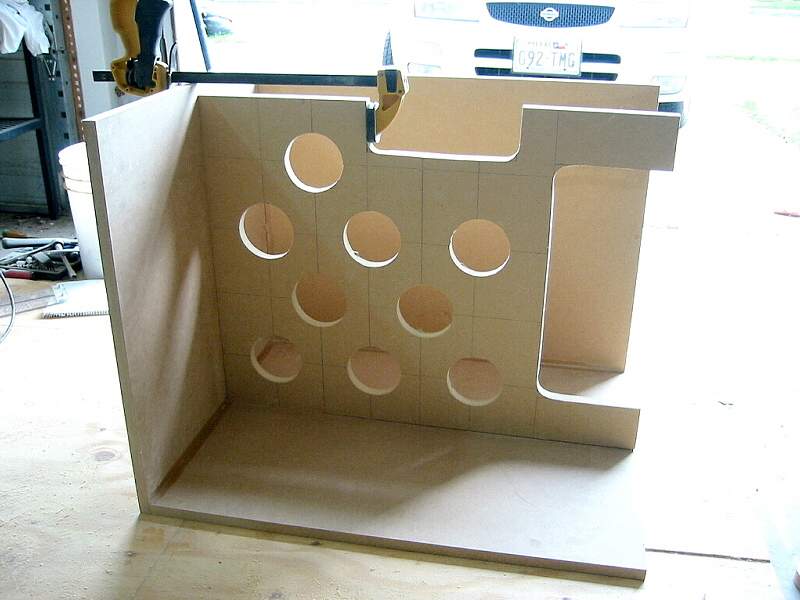
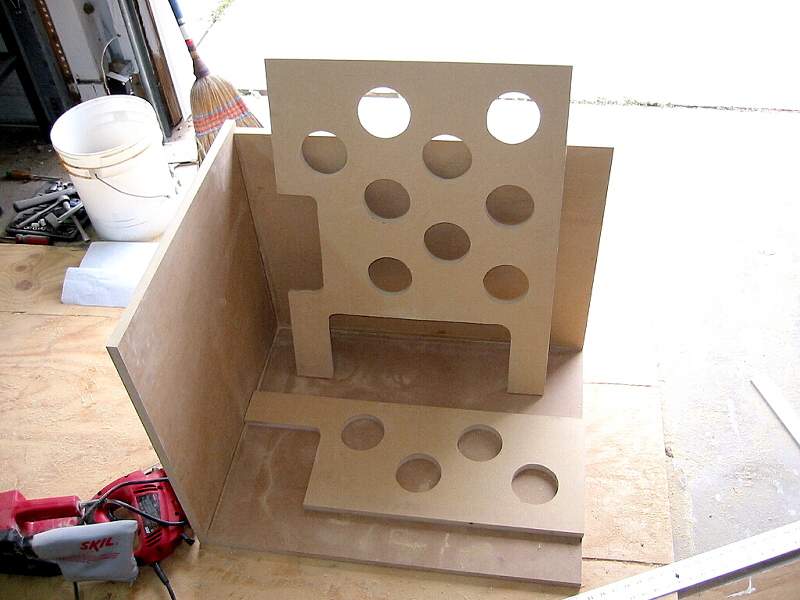
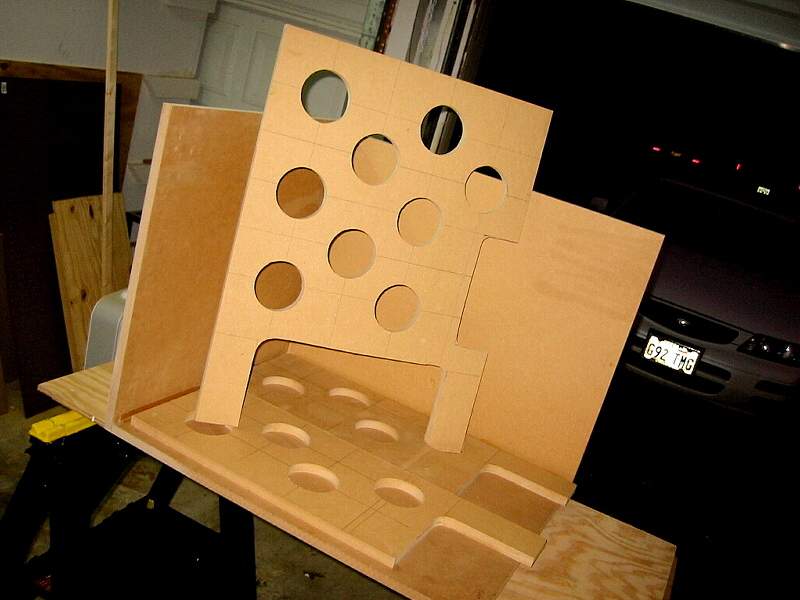
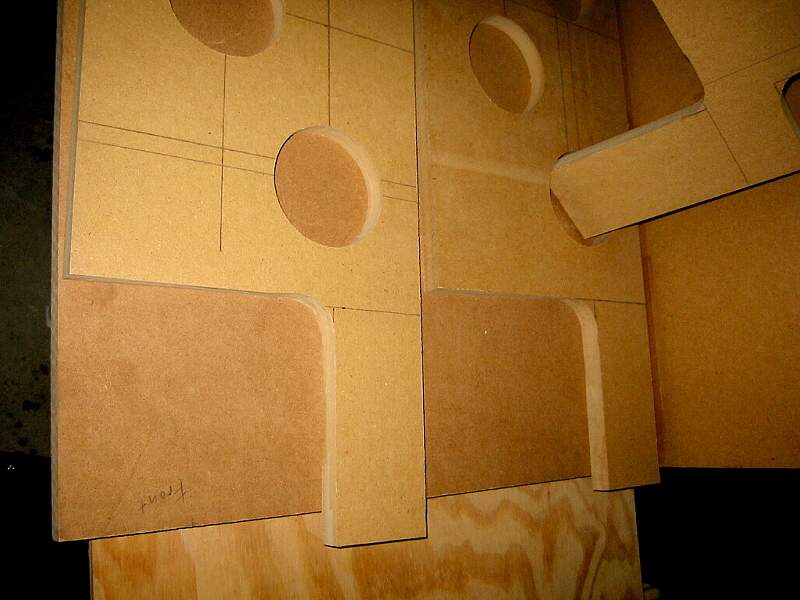
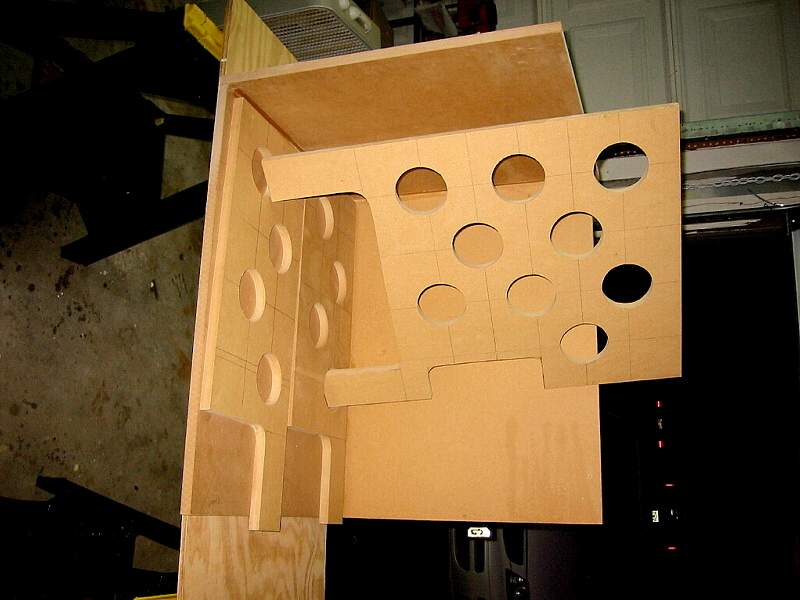
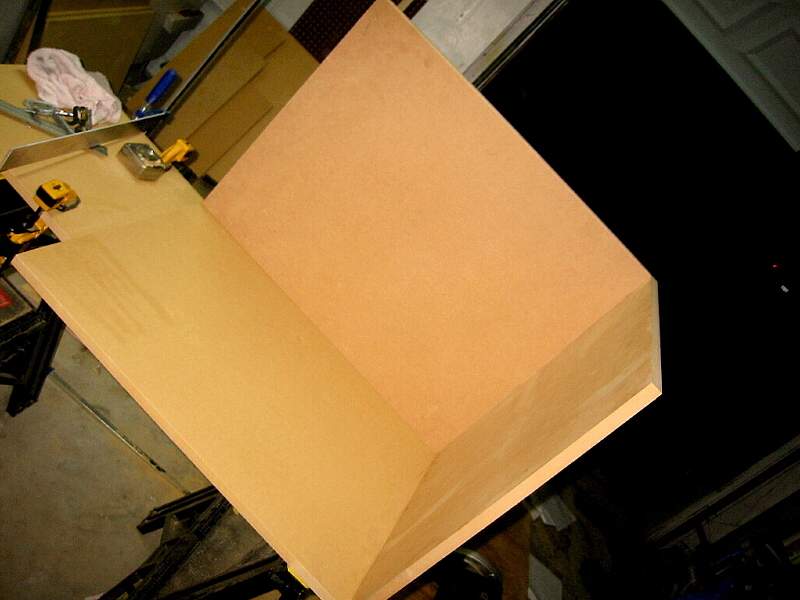
230L Adire Tempest
15" DIY Subwoofer based on modified Adire plans written for the first time DIY'er.
You can get the
plans I used at the link below if you don't have them. I couldn't find
them on Adires website the last time I checked.
SealedTempestApplications
The plans are for a
low-Q .577 design. I decided to go sealed because I was going
to use it mainly for music (90%) and I wanted
to keep it simple because this was my first DIY speaker
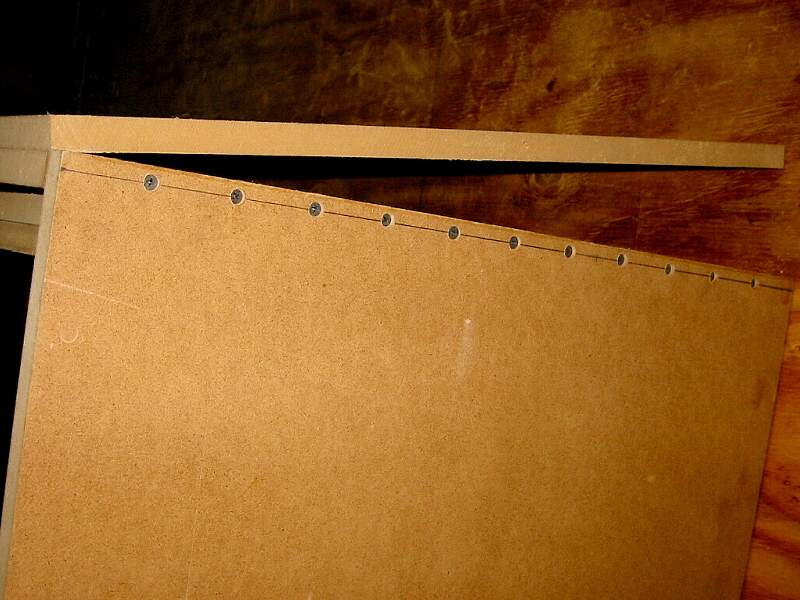
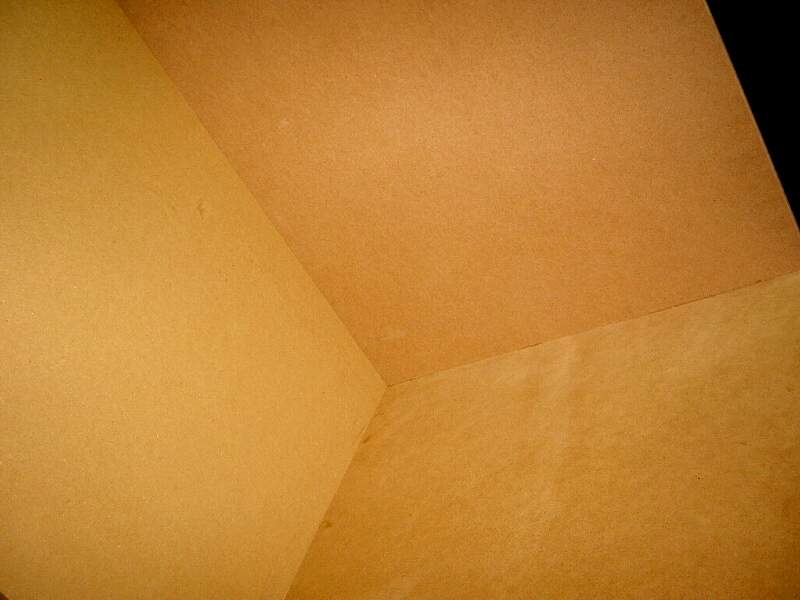
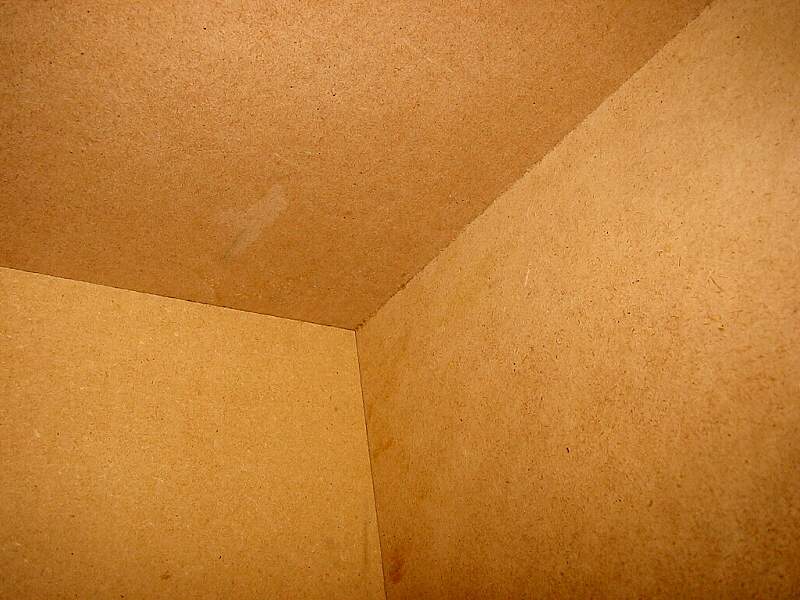
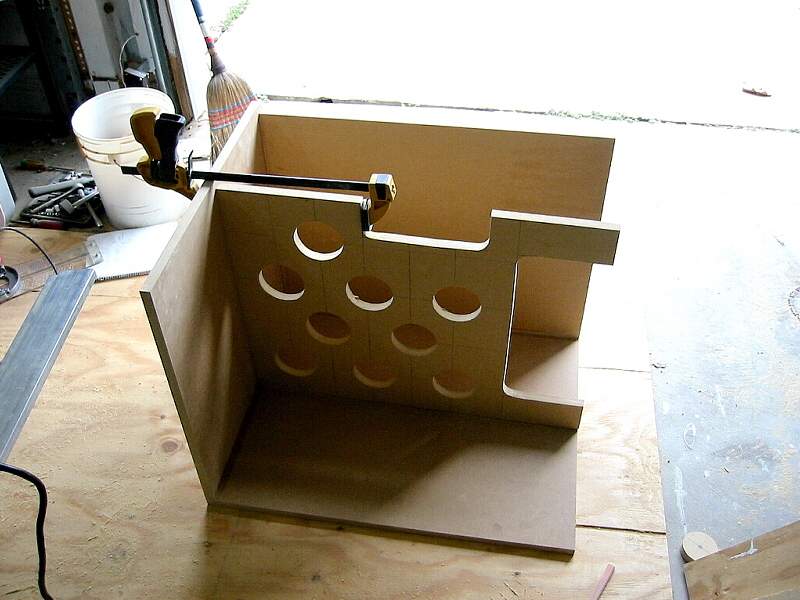
project. It is 39"x24"x24" with legs and will be stuffed with
64oz of polyfill.
|
|
My
objective when I decided to go DIY route was to get the best subwoofer
performance for the money while
learning and
showing my girlfriend that there was a reason for the madness in my
search for better sound.
I decided to go for a 15" Adire Audio Tempest Subwoofer because the
price was
awesome and it had great feedback from other users using them in the
forums.
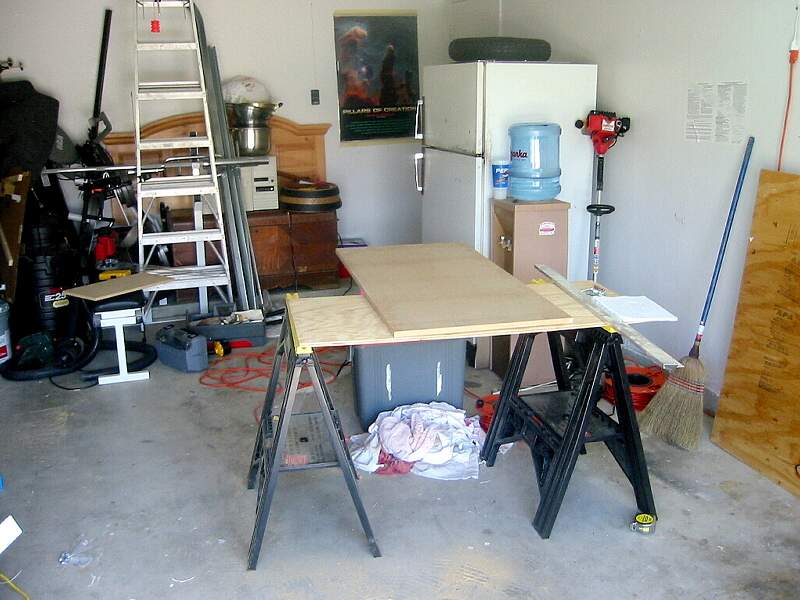
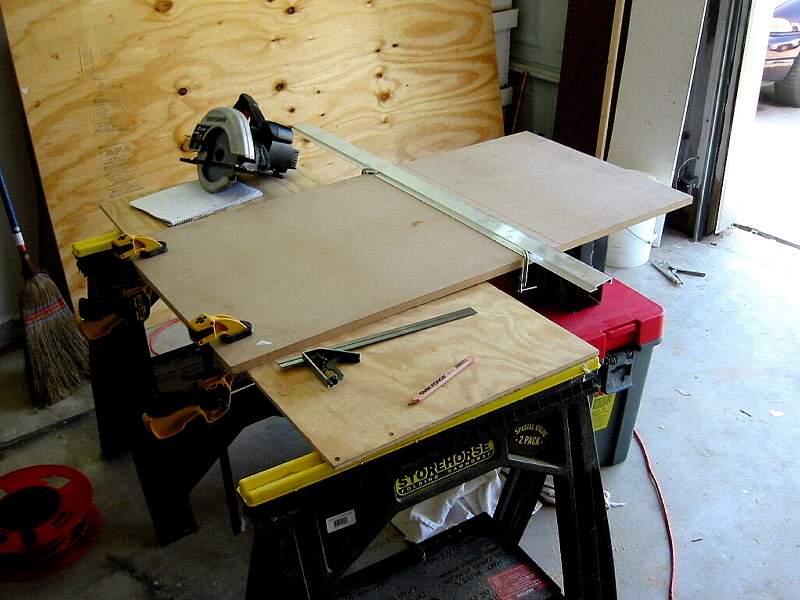
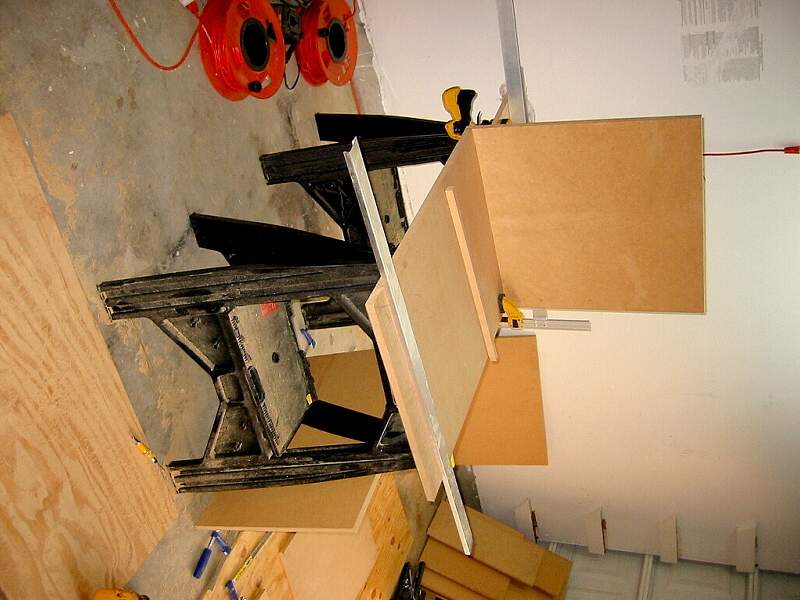
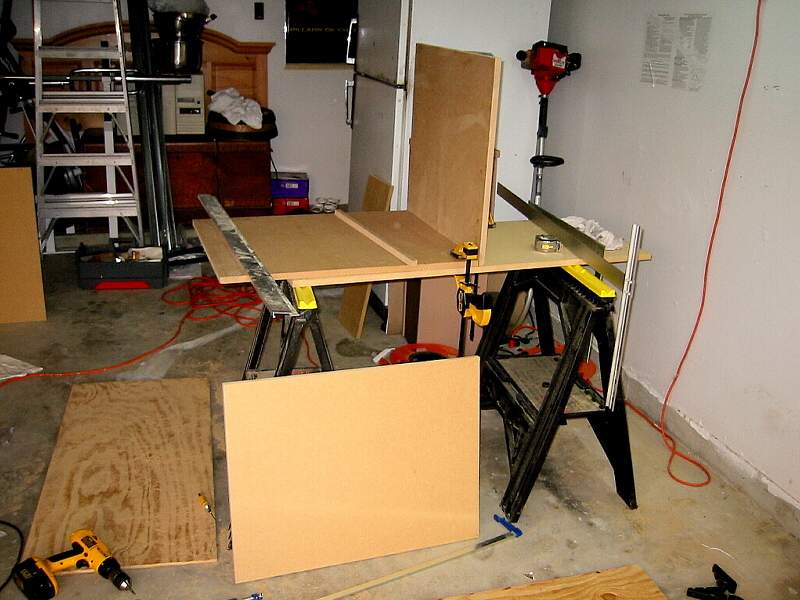
10 things I learned
after I completed my project:
1. You will never have
enough bar clamps.
2. The right tools
make the job A LOT easier.
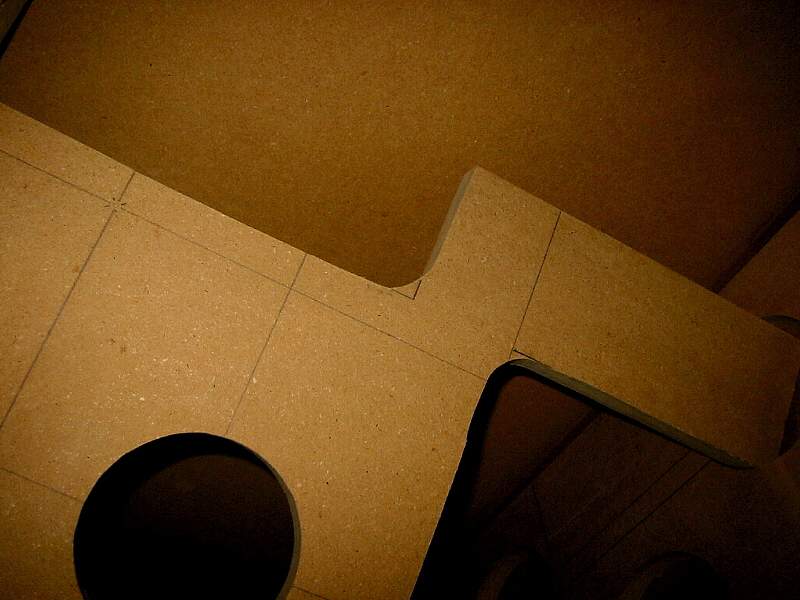
3. After cutting
pieces... line the pieces that are the same size and sand them
so they are all the exact size.
4. ProBond
type glues require moisture! DOH!
5. Buy a dust
mask and goggles.
6. Use a
scrap piece of wood first to see exactly how big the baffle is going to
be.
7. Measure,
square, measure, squarre, cut.
8. Use a real pencil
to make lines (sharpie doesn't work!) hehe
9. It would
have been a lot easier with stable workbench instead of some plastic
saw horses.
AND LAST BUT NOT
LEAST...
10. Your first DIY
project will probably be your most expensive after you buy... bar
clamps, wood, radial saws, jig saws, T-squares, hand squares,
belt sanders, routers and bits, palm sanders, drills, glues, sandpaper,
wood putty, saw horses, etc, etc, etc, etc, more bar clamps,
etc,etc,etc,etc.
However my next
project will be a lot cheaper... hehe
I am not asking for any donations, I
am just trying to give back for all the things I learned by viewing
other DIY worklogs put on the web
for everyone to learn from.
I will keep this page up as long as I feel
people are using it. So send me an shout out or something! :)
So if this worklog helped you out the least you can do is please send
an email or send me pics of your completed DIY project.
you can reach me on the [H]ardforums (computer audio) or
feel free to email me @ magnetik @ gmail.com
|


